Port town of Yangtsun

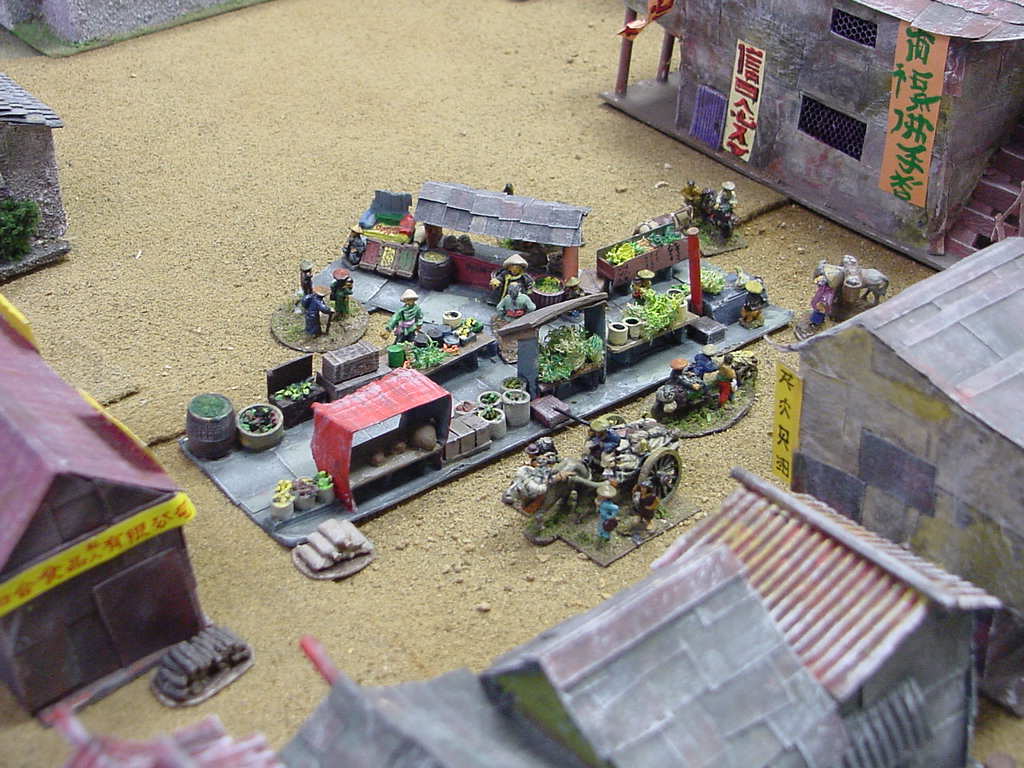
Yangtsun Market
Scenario
Boxers are assaulting the Mission located in a port town of Yangtsun, while both land and naval relief forces come to their rescue. Three Boxer banners: red, yellow, and black start the game attacking the mission directly. One regiment of Chinese Imperial troops also are present, but nobody knows how much they will impact the coming struggle.
The mission is only guarded by USMC, Royal Marines, and Bersaglirie, with a large civilian group gathered in the mission for protection.
Missionary Position

Boxer Order of Battle
Boxer CinC – Poor
RED BANNER BOXERS
RED BANNER Commander - Poor
UNIT Fire Melee Morale
BOXER (ARCHERS) D6 D4 D4
BOXER NA D4 D4
BOXER NA D4 D4
BOXER NA D4 D4
BOXER LIGHT GUN section D8 D4 D4

YELLOW BANNER BOXERS
YELLOW BANNER Commander - Average
UNIT Fire Melee Morale
BOXER (RIFLED MUSKETS) D6 D4 D6
BOXER NA D6 D6
BOXER NA D6 D6
BOXER NA D6 D6
BOXER MEDIUM GUN section D8 D4 D6

BLACK BANNER BOXERS
BLACK BANNER Commander – Abysmal
UNIT Fire Melee Morale
BOXER (RIFLED MUSKETS) D6 D4 D4
BOXER NA D4 D4
BOXER NA D4 D4
BOXER NA D4 D4
BOXER MEDIUM GUN section D8 D4 D4

INDEPENDENT UNITS
UNIT Fire Melee Morale
Big Sword Society NA D8 D6
Local Boxers NA D4 D4
Imperial Command
Imperial Commander – Poor
UNIT Fire Melee Morale
1st Battalion D8 D6 D4
2nd Battalion D8 D6 D4
LIGHT GUN SECTION D6 D4 D4

International Order of Battle
MISSIONARY POSITION
Commander - Captian Robert Jones (RMLI) – Skilled
UNIT Fire Melee Morale
USMC D12+1 D12 D12
ROYAL MARINES D10 D12 D12
ITALY BERSAGLIERI D12 D10 D8
NAVAL LANDING PARTY HOWITZER SECTION D10 D6 D10

NAVAL CONTINGENT
MARCUS DER SHUTZEN KRAMER SEEBATALLION COMMANDER – Skilled
UNIT Fire Melee Morale
FRENCH MARINES (1/9th) D12 D8 D8
GERMAN SEEBATTALLION #1 D12+1 D10 D8
GERMAN SEEBATTALLION #2 D12+1 D10 D8
SMS Vorwarts – Gunboat
Medium Rifled Breach Loader D10
Medium Rifled Breach Loader D10
Maxim MG D12
Gurbett - Armed Troop Transport (Paddle Wheeler)
Light Rifled Breach Loader D8


LAND CONTINGENT
9th Regiment HQ – Skilled
UNIT Fire Melee Morale
1/9th Battalion D12+1 D8 D8
2/9th Battalion D12 D8 D8
3/9th Battalion D12 D8 D8
3" Light Field Guns (sec. A) D12+1 D6 D8
THE BATTLE
Since the game me was fought six years ago, I'm relying on the text from the pictures to narrate the battle.


The mission survived, but the relief forces were almost completely annihilated. Great fun!
Dear friend, your buildings and your ships are great. I would like make the same scenarios. Can you help me? Have you the draws or some pic taken during the "making of" I'm very interested about the measures or proportion, mainly of Gun ship.
ReplyDeleteTank you a lot
Antonio P.
floanto@libero.it
Hi Antonio, I will try to post some close-up photos in the next month or two.
ReplyDelete