The next logical choice would be the Battle of Lutterberg in October of 1758. This is a nice large battle, but is missing the Duke. I would have loved to have done this one, but once again, over half the French army stands stagnate. Tis a shame as I could have used my Saxons for the first time.
Moving on chronology, the next logical fight is the Battle of Bergen, which is the first battle of 1759! This features a large Allied army assaulting the French across a fairly narrow front. This one looks perfect for my next battle and the Duke is present!!
Background
Description from Kronoskaf site:
"When Ferdinand of Brunswick heard of the capture of Frankfurt early in January 1759, he resolved to risk a long march at this bad season and to attack de Broglie near this town. He hoped to paralyze French operations in this region by severing them from their base. Ferdinand first launched diversionary operations against Hessen. He then launched a surprise attack on the French positions. However, Broglie managed to concentrate a French force at the fortified town Bergen blocking the road to Frankfurt.
On April 12, Broglie's army bivouacked near Bergen. He deployed Royal-Suédois, Royal Deux-Ponts, Waldner and Planta in the orchards near Bergen.
In the evening of April 12, the Allies designed their plan of attack: the Hereditary Prince would be in the vanguard, Ysenburg on the left, Holstein-Gottorp on the right. They would deploy in the country between Vilbel and Bergen. Ferdinand assumed that Bergen was occupied by only some 2 to 3,000 French troops and decided for a quick attack without artillery for the next day. Indeed, the artillery had been left behind in the mud. Orders were sent at midnight. Troops had to concentrated at their starting positions around Rossdorf and Kilianstädten, 3 km south of Windecken. The hour of the attack was fixed at 6:00 AM on April 13. However the short time allowed to deploy (only 6 hours) made it impossible for every units to reach their assigned positions in due time.
"
The Map and Table Setup
The map was touched up in PowerPoint to show the unit locations. Map from SYW Project site.

I put four VP locations throughout the map.
Allied Generals: Jan, Mac, Brian
French Generals: Wes, Phil,
Rules: Piquet's Cartouche 2nd edition Supplement
Scenario Special Rules
Bergen was a CLASS III medieval walled town.
Northern woods is CLASS IV (i.e. - stay the hell out of there!)
Guns are deployed behind the sunken road.
Because Ferdinand was not up to his standards, he is rated Average in this game.
The Battle
Because this was fought several months ago, the details may be a bit fuzzy.
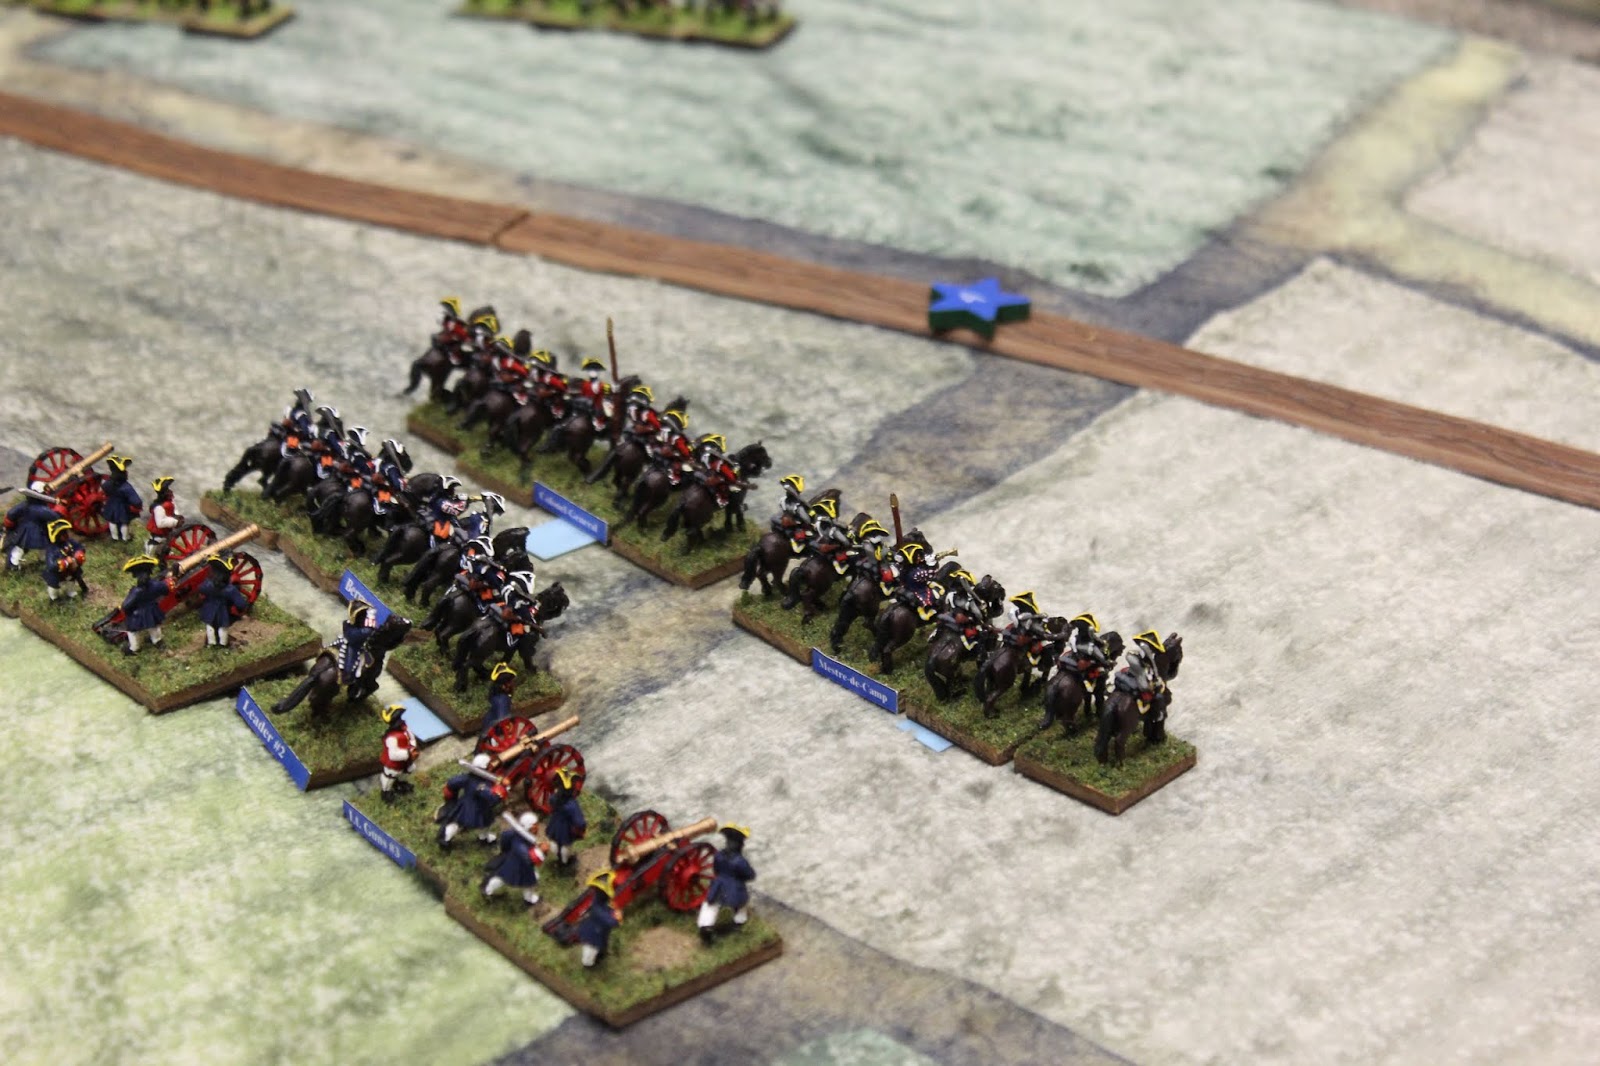
This is the French cavalry reserve, artillery line, and the Saxons furthest away from the action.

Good view from the Bergen showing the Brunswickers, Hessians, and Hanoverians preparing for the assault through the orchards and over the walls of Bergen.

Swiss, holding steady as the Brunswick Grenadiers advance.

Large cavalry brigade waits for their opportunity.

Mixed Allied brigade of Brunswickers and Hessians, Brunswick Grenadiers for a strike force to clear the orchards around Bergen.

Hessians

French lines past the sunken road, with a brigade of French infantry reserves in the distance.

Jan sends his Brunswick Grenadiers into the waiting Swiss and French!

Mac attacks the right flank of the French in the fields before Bergen. The stone walls offer less resistance than was thought.

French opportunity fire (yellow chip) was feckless …

The Allied return fire was not! Four stands lost from the two French units, sending them in flight back through Bergen!


French reserves rush to man the walls of Bergen (homemade that week) before the Allies can press their advantage.

Mac's attack cleared the stone walls before the village, but Jan's Brunswickers ran into a Swiss buzz saw!


The Swiss destroy two stands of Brunswick Grenadiers and rout them!

Nice view of the flack situation. Allies and French are both moving forces on the other parts of the field.

Mac's Hanoverians and Hessians march through the fields and orchards and flank the pesky Swiss and send them packing!


Saxons and Hessians begin to for firing lines around the sunken road. French artillery was firing this entire time with little effect. Even the heavy batteries were sub-par in their attack.

Dead Swiss (black casualty markers)

The Allies get to the Bergen walls as the French chose to defend the inner city (VP location is in there) rather than the walls.

Love this photo!


With some difficulty, the Prussians surmount the walls of Bergen. Bitter hand fighting likely to come.

Different angle of the fighting

Phil, the French commander, decides to send in the cavalry as Bergen is close to slipping from French control.
Hessian Grenadiers assault the town section routing the French!

The VP location (blue star) in sight!!

French forces are getting caught in march column (deadly in Piquet), as masses of Allied and Infantry and Cavalry prepare to finish these French off for good!

View from the Allied perspective.

French player morale was low at this point, Bergen was in Allied hands, and the French infantry in march column were basically dead in the water. It was 11pm so we called it, but there was about to be some massive fighting all along the front.

Afterthoughts
We had great fun again with these series of games. Minden should be next chronologically, however I have no British troops painted!!! So, likely have to move to something smaller or without so many British so I can use Hanoverian proxies.
The scenario is difficult as the attacker is around Bergen so half of each army must aggressively advance to get into the action. I'm not sure this has much replay value, unless you have fewer players. I could always start the main forces, those not in and around Bergen, closer together.
Sources
I used the following to help me design the scenario for Piquet.
1. Kronoskaf Site, as usual - Battle of Bergen
2. Tim Tilson Scenario book: Great Captains Campaigns: Ferdinand of Brunswick available on www.wargamevault.com
3. Age of Honor scenario book (refights entire battle):
http://www.ageofeagles.com/Pages/ScenarioBooks.aspx
4. Might and Reason Scenario: The Battle Of Bergen - April 13, 1759 - by Chuck Hamack and Erik Engling
5. "His Britannic Majesty's Army in Germany during the Seven Years War" by Sir Reginald Savory
http://www.18thcenturypress.com/savory.html
6. Operations of the Allied Army Under the Duke of Brunswick, 1757-1762, by Sir Charles Hotham-Thompson.


