Here is a photo of the terrain before the battle. On the right is the Allied base line, and the left is the French baseline. Both sides will have random arrival times for their columns. See the Scenario special rules below.

Brian and Jan were the French Commanders.
Myself and Steve "The Hanoverian Hammer" were the allies.
Scenario Special Rules
Visibility
The game starts in darkness just before dawn – visibility 4”
The first time the Stratagem card is turned (in the French
deck), dawn arrives, with visibility up to 12”. (If for some reason the turn
ends before the card is turned, it has the same effect)
Second time card is turned normal visibility.
No Stand Removal
I spent a lot of time collecting the figures, so we are going to
leave them on the table. I have casualty markers that should work fine for the
game.
Command Group Arrival
All units start off board. Players designate their arrival
locations. Infantry MUST arrive on a road. Cavalry may arrive anywhere on base
table edge.
When a side wins initiative for the first time, they roll a D6
for each command group. On a 4-6 the command group arrives and may take one
move in Column of Route (March column) onto the table from their designated
entry point at one impetus per command group. If the command group rolls a 1-3
they must wait for the first Move in Open card to be turned. Hence all commands
arrive by after the first Move in Open card is turned. (Thought about making
this more difficult, but wanted everybody in the game quickly).
Special Maneuvers and Deployments
If a unit is not within 24” of the enemy they may Maneuver or
make a Deployment on the Officer Check card.
Victory Points
This game will be driven by VPs. The player gains 1 VP for each
enemy unit routed from the table. The player gains 2 VP for every “destroyed”
unit. This will force players to remove battered units from the
frontlines and attempt to rally routed units before they leave the table.
Whichever side has the most VP when either side reaches zero morale chips wins
the game, even if they still have more morale chips.
Rule of ½
In this game, because I want both sides active, the losing side
on the impetus roll gets 50% of the winner’s impetus rather than just 33% like we normally play.
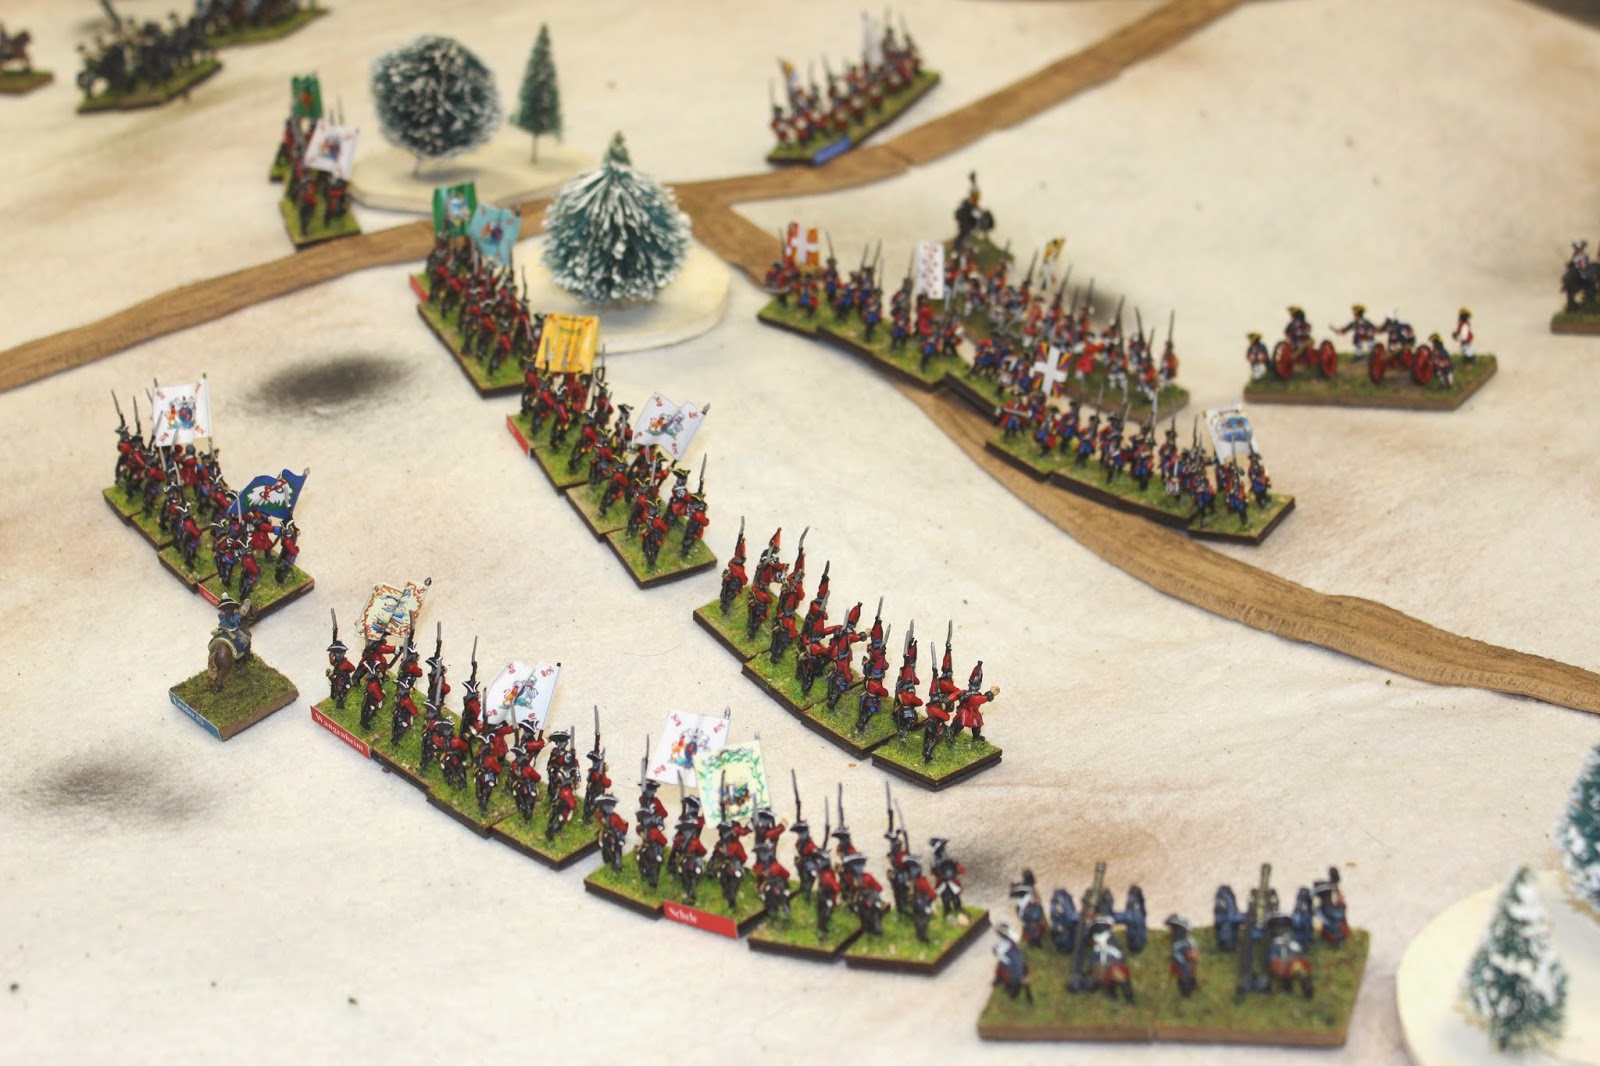
The French rolled in 2 of their 5 commands on the first impetus, while the Allies brought in 3 of their 4 columns with theirs. Below is the Swiss Brigade of the French army arriving in column of march.

This will give you a lay of the land, with the Allies to the left and the French brigades\commands on the far side of the table.

The Hanover cavalry swings wide around the town, to threaten the Swiss flank..

Der Hammer's infantry command which rolled up a Superior leader (adds a Brilliant Subordinate card to the Allied Sequence deck which this command can use)

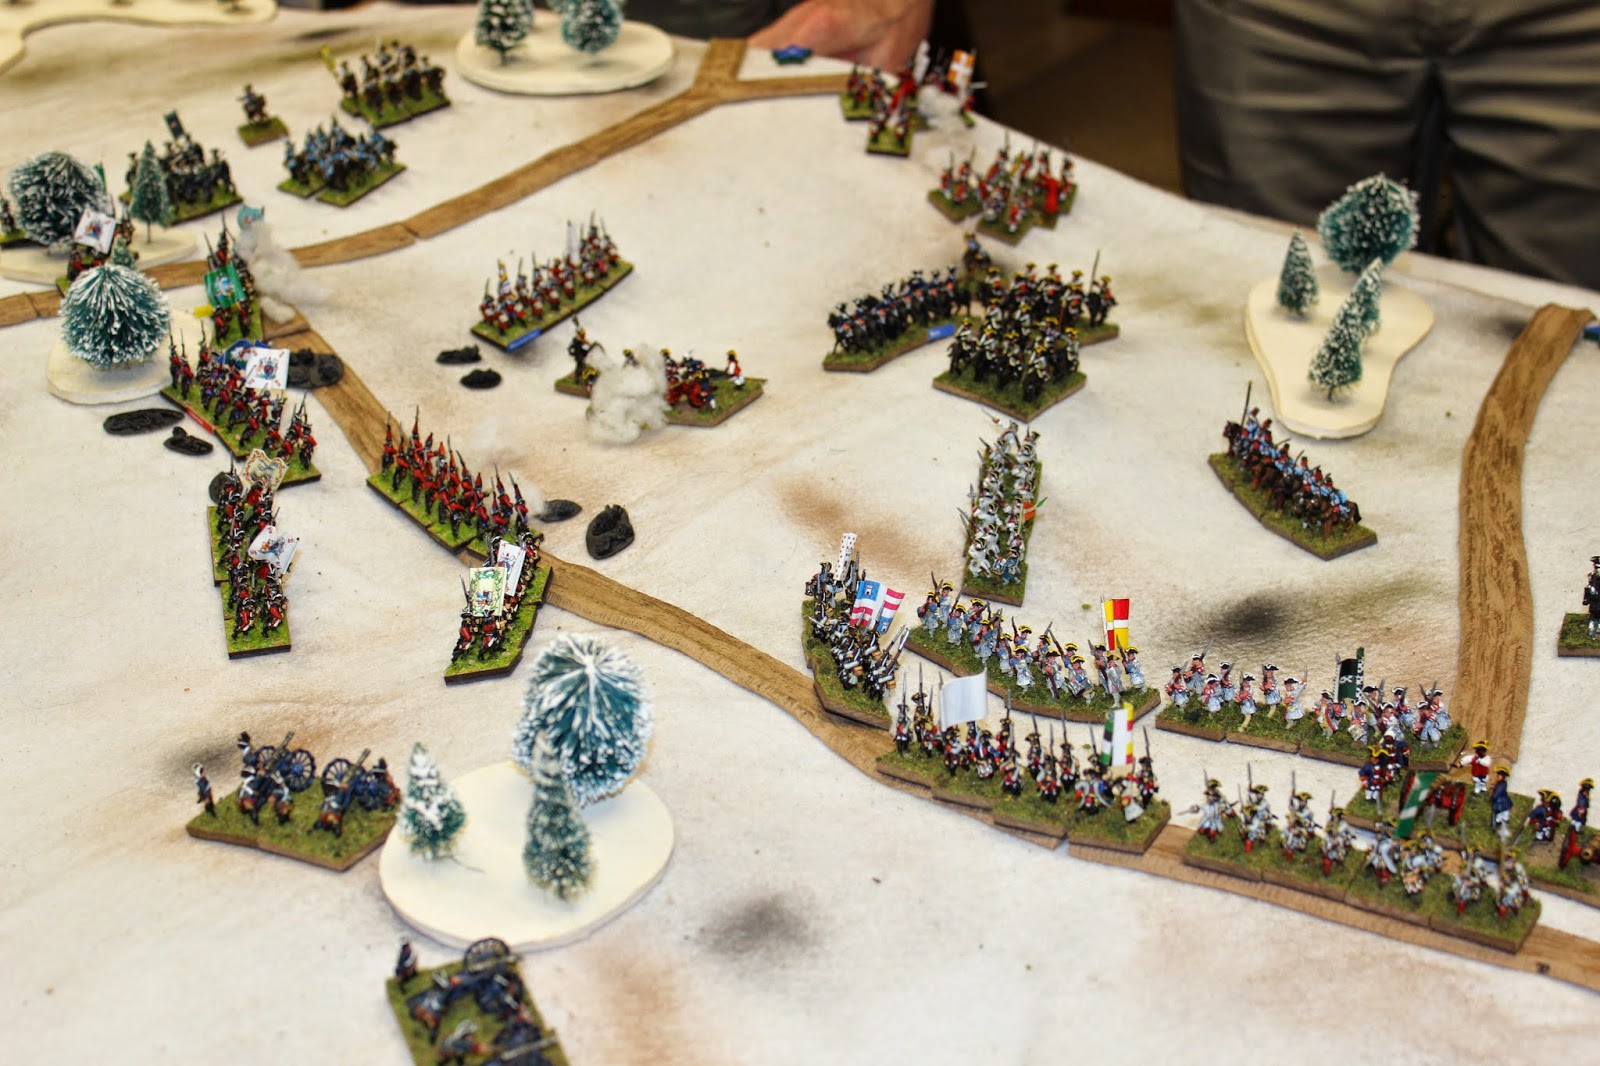
Even though the Allies started well with all their Brigades arriving quickly, the French go the upper hand early and were able to move and get their commands deployed for combat early. Here you can see the French moving into the town on the Allied right wing.

The Swiss and the large French center begin to deploy for battle, while the Allies fumble around in the dark. Visibility is still 4" as this point in time due to darkness.

At this point the Allies rolled 19 - 1 on the impetus roll so they received 18 impetus and the French received 9. The allies dashed forward in column of march, taking advantage of darkness and knowing they would be able to deploy before the French could act. This is a rare situation in Piquet, but with that much impetus, good things happen.

The Hessians (Allies) shake out into line ready for battle.

The Hanoverian infantry is ready and their cavalry is also poised to hit the Swiss in the flank.

Der Hammer cleans up his line for the attack, pushing two units into the Class II woods at the road junction, while the Hanoverian Grenadiers get ready to attack.
View across the front showing the French lines on the right and the Allies on the left. Hessians closest on the left.

More cavalry movement for the Hanoverians. A single Swiss regiment holds the flank.

View from the Hanoverian perspective.

Cool photo of the Hessian and French lines

Der Hammer launches his infantry attack. Grenadiers and Swiss exchange fire at close range with little effect. Hanover regiment Behr (Yellow flag) exchanges volley's with the Swiss then gets destroyed by the 8# French battery!

The black spots are casualty figures from the Behr regiment. The regiment behind them moves into this gap and we draw a Heroic Moment card.


The Ahlefeld Regiment (Blue flag), is the worst unit in the Hanoverian command (8 Fire, 4 melee, and 4 morale), but with this Heroic Moment, Point Blank, and First Fire, their modified firepower becomes a D12, and they proceed to destroy the entire Swiss regiment in front of them with 9 hits (the Swiss had already lost a stand - 3 hits).

The Hanoverian cavalry moves ever closer along with the two infantry regiments moving through the woods.

Von Post Regiment (Green flag) moves out of the woods and fires into the flank of the Deisbach Swiss Regiment (Things are not going well for the Swiss)

Diesbach is routed and can be seen clumped with the other routed Swiss regiment near the board edge. The French continue to wheel into position to try to shore up this flank.
Here is the shot of the forces after the evening. Two unfortunately things for the French. They forgot to add the Weather Check card to their deck to signal the changing of the light. We were at 12" visibility when we stopped. They also forgot to put their Brilliant Leader card in their deck on the first turn. I guess the overall commanders was having breakfast and didn't want to be disturbed.

The rest of the photos are just nice after the game photos. We will continue the battle next week.
French Dragoons

French right flank where the Swiss left their dead and wounded.

Center from the French perspective.

Center

Overhead shot. Here you can see in the top right of the photo, the Prussian cavalry brigade attempting to outflank the French. The Irish Regiment, Berwick, is formed up on that side of the table to stop them.

Shot of the gulley. Will the Grenadiers or the French battery reload first. The Grenadiers did manage to cause a stand lose to the battery just as the night was ending for us.


Hope you enjoyed!
Eric
Stunning visuals, a great account and plenty of photographs! Who could ask for more?
ReplyDeleteRobert
Hi Eric
ReplyDeleteExcellent looking game and good write up. There is something about a white landscape that makes the figures stand out.
BTW are you figures based on 1 inch squares.
Mark
Hi Mark, yes the figures are on 1 x 1 inch bases. Love that look.
ReplyDeleteI have 6 more infantry units on the way. Hanover, Reichsarmee, and Prussians.
Glad you liked the photos Robert. We really had a good time. Can't wait to finish it next week.
Cool looking game!!!
ReplyDeleteGreat looking game and nice report, Eric. All wargamers need a "Crisis in the Snows" every so often!
ReplyDeleteGreat looking game with plenty of troops.
ReplyDeleteEric, if you want a copy of my SYW Classic Piquet for big 18C battles drop me an email.
James