Welcome the Taiping Rebellion in China in the 1850s and 60s!
Background
It has been years since I have put this collection on the table. I'm going to change that going forward and run at least two Taiping Rebellion games a year. This is a 25mm collection mainly comprised of Foundry figures with some Old Glory figures included for variety.
About half the figures were purchased painted from a good friend, and the rest were bought and painted over the years. I recently added the flags to the Imperial forces (nobody produces them) and they turned out great. I had to design the flags myself or from images on the internet. Then I printed them on my ink-jet printer. A photo below shows the variety of flags and banners. As usual, click on image for bigger views.

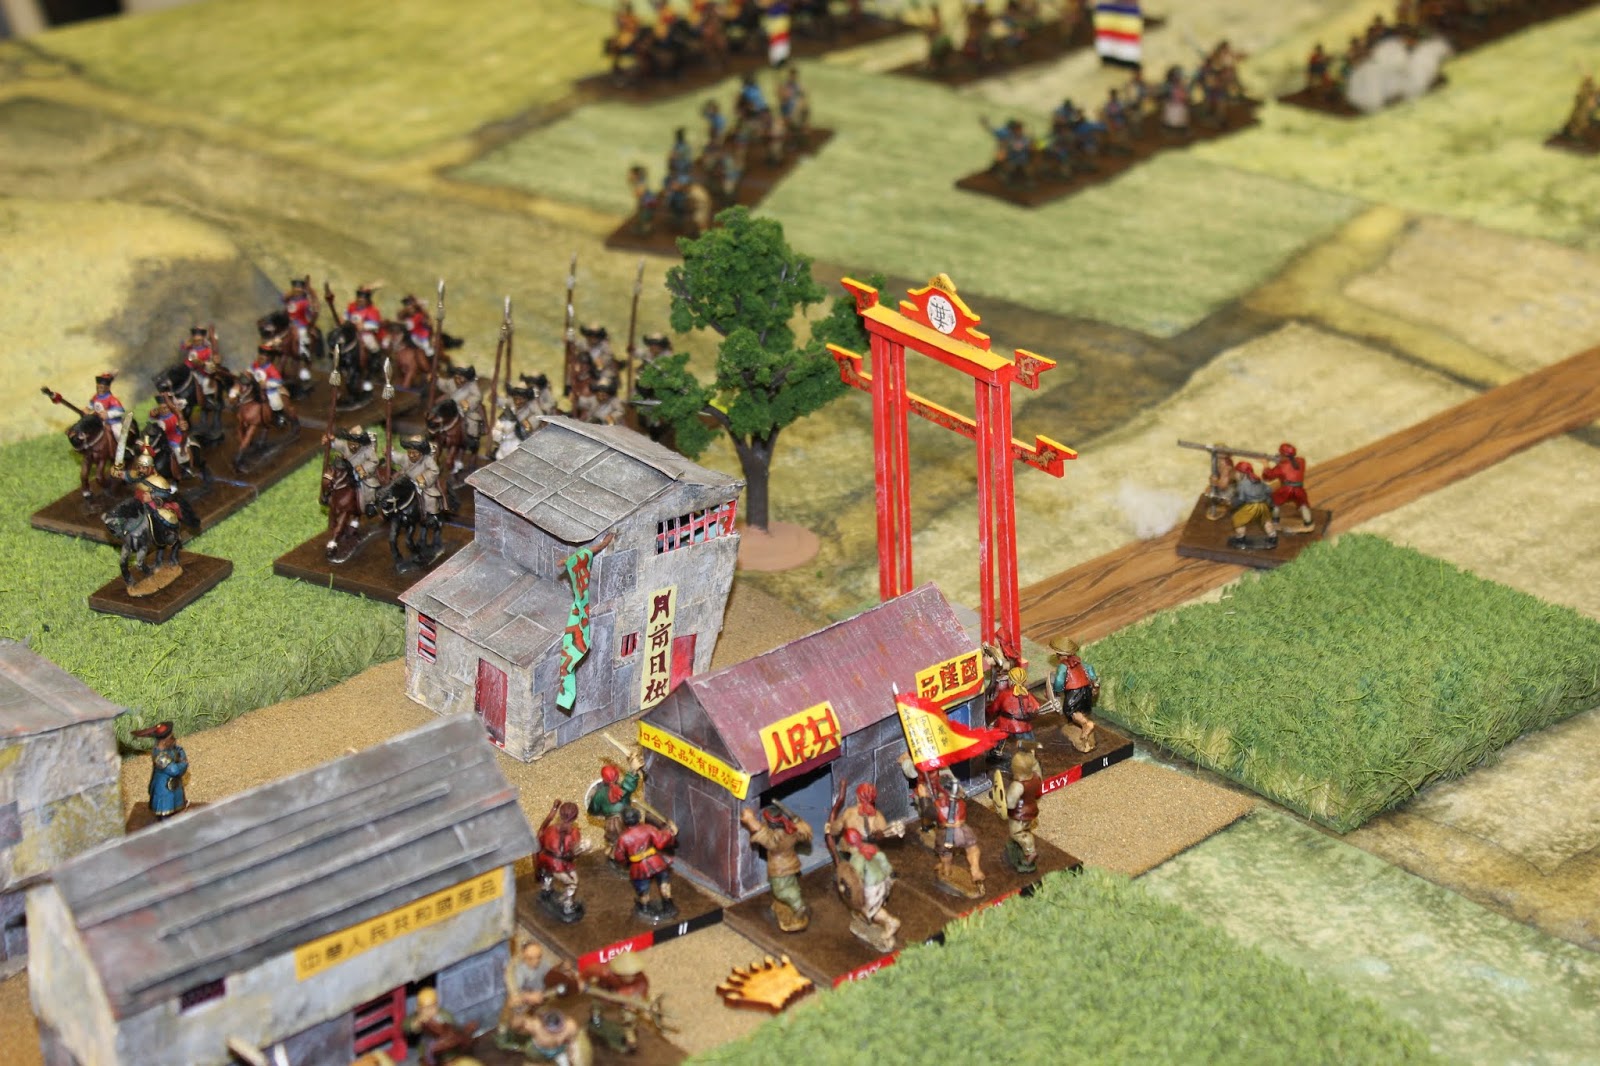
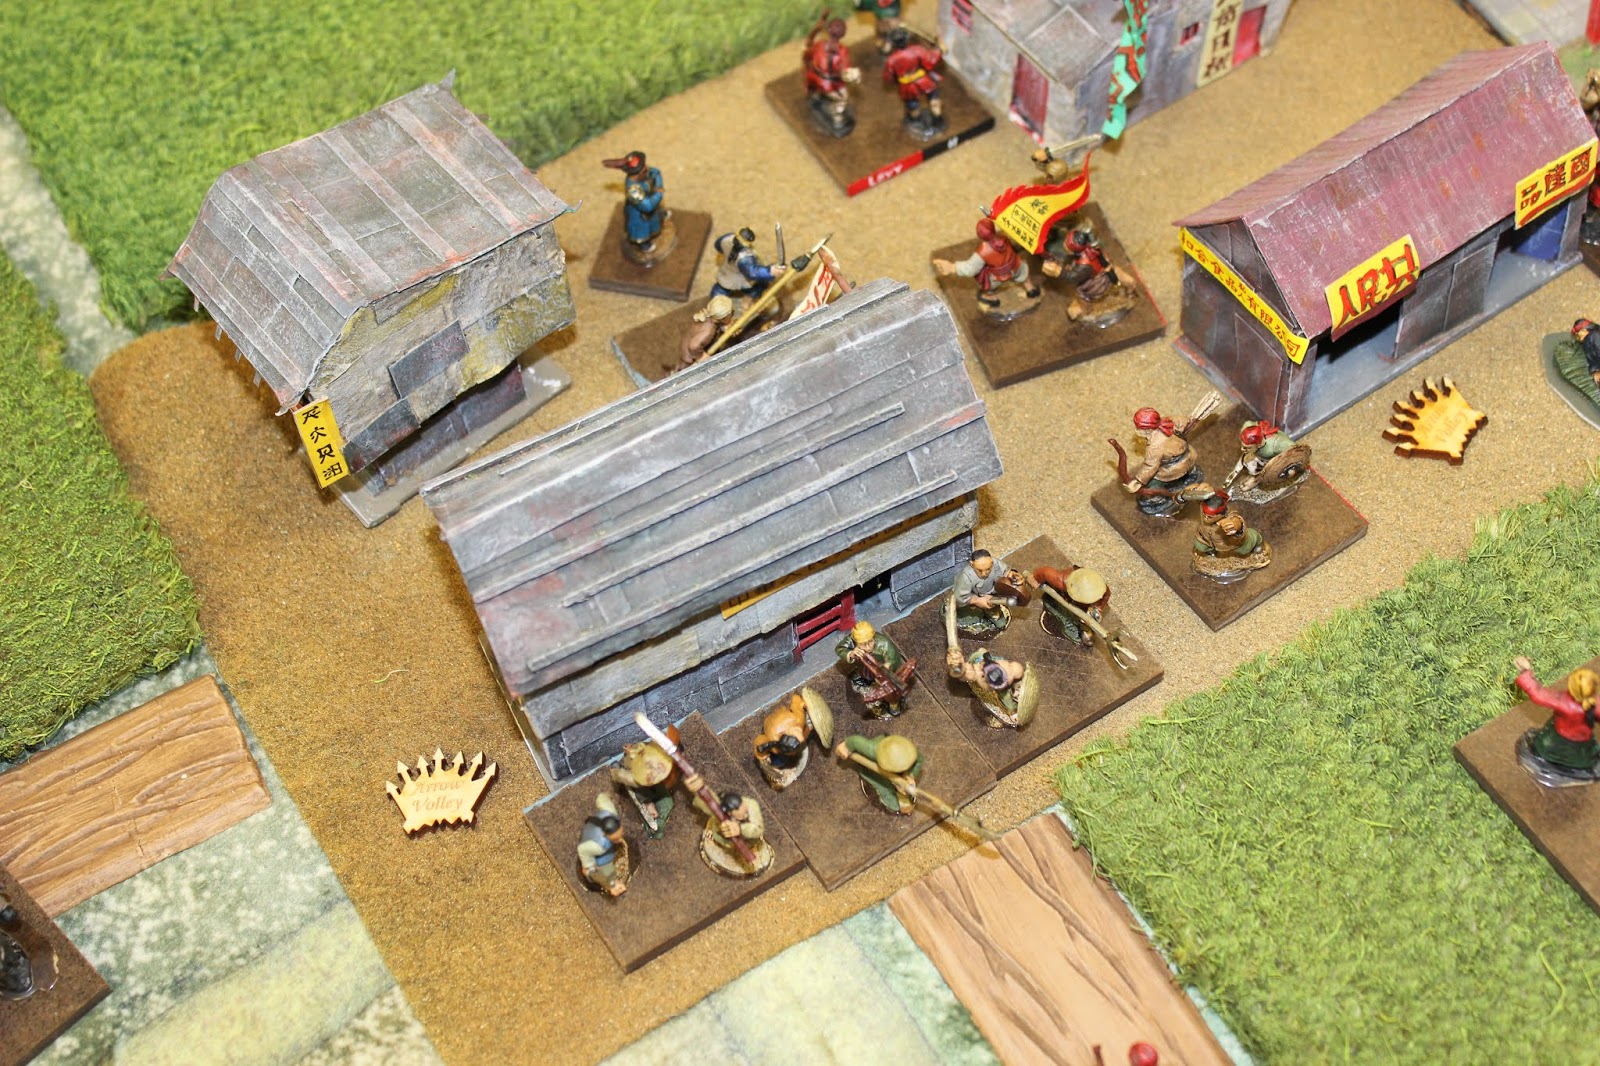
River is made of window tinting cut to size. Town buildings are scratch made by Mal Wright for my Boxer collection. Crops are cut out from a door mat and spray painted green. Bridges and Pogoda are aquarium pieces. Normally each unit is 4 stands, but I had to make units 3 stands to allow for maneuvering as I only have an 8' x 5' table. Sigh. I used to have 14' x 5' in my old basement.
Scenario
This is an early war scenario, around 1854 when the Taiping Rebellion was surging like an unstoppable wave across southern China. The Imperial forces are guarding two bridges and a town that the Taiping need to continue their advance. Although the river is fordable to infantry and cavalry it wouldn't work very well for the supply columns that are following the Taiping.
The battle pits the Imperial Green Banner Army vs Shield Army of the Heavenly Kingdon (Taiping). Taiping are mostly on the left side of the photos prepared to assault the Imperials dug in behind the river. The Taiping mostly have yellow flags trimmed in red. Imperials are to the right in most photos behind the river line. Flags vary for the Imperials.
Victory Points
- 1 for bridge closest to the pagoda.
- 3 for bridge near the town.
- 5 for town itself.
Taiping House Rules
We played a Hybrid set of rules I created based on standard Piquet (Hallowed Ground supplement) and Field of Battle impetus. So, most of the game mechanics are Piquet, with impetus usage based on Field of Battle. If you are truly interested in the Taiping rules (Jingals, Tigermen, and Stink Pots, oh my) and Hybrid concept send me an email and I'll send you PDFs. ericbu2025@gmail.com
Here are the Buddhist Monks hoping their pagoda isn't burned down by the Taiping.

Rosters
Here are the two rosters for today's game. You will notice that most Imperial troops are very poor compared to normal Western Drilled troops.

The Taiping "Guard" are the Veterans of the army and have very high stats compared to the enemy. A Ying is like a Brigade in western terminology.

If you would like copies of the Quick Reference Sheet email me and I'll send you a PDF.
Setup
Here are some photos of the game's setup. Mostly taken from the short end of the table to get the natural light. Taiping on the left and Imperials on the right. This photo was taken when I had each unit at 4 stands instead of 3 I used for the game.


Close-up of the Guard Ying near the pagoda. Commanded by Rich.

Two Yings (Left and Center) commanded by Michael.

Imperial positions (dug in) around the Pagoda bridge


This is a great photo showing the main Taiping attack across and around the main town bridge

The Battle
The battle started with lots of skirmish action between Jingals (Light and Heavy) and Imperial Tigermen. These are special skirmishers and I have house rules for them. The Jingals can either fight the enemy jingals\tigermen or fire on units to try to disorder them.
Meanwhile the Taiping forces surged forward! Left Ying charges towards the river. Imperial peasants are attempting to hold the far right of the Imperial line.

The Center Ying now advances to the River. In Piquet, this is a CLASS II river so halt on contact then can move normally after that.

Near my side of the table the Guard Ying advances and throw out their Jingals to take out the enemy skirmishers. Jingals are individual stands.

The situation near the Pagoda Bridge.

Taiping and Imperial Manchu cavalry race to the river to try to get an advantage on the flanks. This upcoming cavalry battle swirled for four Melee Resolution cards. Fighting can be seen in the distsance.

Imperial defenders, with the help of attached Jingals, cause heavy casualties among the Taiping Veterans and disordered a couple units too. The river line appears to be holding. Lone Taiping unit in the middle of the photo has formed in "circle" to fend off the Bannerman cavalry about to cross the river!

Because of my location on the table it was hard for me to get photos of the raging melees at the far end of the table near the town. Many Taiping units were routed, but rallied and came on again against the Imperials. The attack to the right of the bridge (from Imperial view). Mongolian cavalry swinging around to bolster the morale of the Imperials and Peasants.

Action to the left of the Bridge. One routing Taiping unit heading towards the table edge. The river line is holding so far!

Meanwhile the Taiping Veterans have charged towards the Imperials at the bridge and have used their attached stink pot (single figure stand in the water) to drive the imperials back disordered! This was a huge event as the stink pots are one shot weapon and can only disorder the enemy. A very fortuitus roll and the Imperials are disordered and driven back in disorder. (Green tag on unit)

Here are some photos I was able to take during our lunch break of the battle along the river's edge near the town. Many Taiping units are disordered though. The "heart" on the command stand means they have to check for survival on the next Officer Check card.


At the Pagoda Bridge the Taiping have taken control of the bridge and drive off the Imperials. The situation before the melee.

And after

In the middle the Bannerman cavalry breaks the Taiping Brethren's circle and rout them. The Imperials pull more cavalry across into the center!

Taiping units have driven back the peasants and have made several breaches in the Imperial defense.

Last photo showing the cavalry across the river for the Imperials which could really ruin the current Taiping advantage. The Pagoda bridge is completely overrun by the Taiping effectively turning their flank, but much further away (and on foot). The Manchu cavalry was eventually routed by the Taiping cavalry near the bridge (somehow missed taking any photos of that melee!).

We had a great time, but as folks were all new to the rules it took longer than I wanted. We stopped and it was still anybody's battle, which surprised me. We will play again soon!
The Dragon and the Cross
I bought the original MANCHU version of this game with garish map, which you can go look at on BGG.
Here is the revised version with gorgeous map and better-looking counters. I hope to get this on the table in the near future. I clipped all the corners of the counters too. Link to BGG.


Taiping To Do List
If you made it this far thank you! Here is what I have left in order to finish the collection. After all are painted, I'll flock all the bases. Players didn't see it as a problem to not have the bases terrain-ed.
Paint the following, but some are optional. The cavalry is on the table right now.
- 1 x Manchu Cavalry (8 figures)
- 1 x Manchu Cavalry (8)
- 1 x Manchu Cavalry (8)
- 1 x Manchu Infantry (12)
- 1 x Manchu Infantry (12)
- 1 x Manchu Infantry (12)
- 1 x Manchu Infantry (12)
- 1 x Manchu Infantry (12)
- 1 x Bannerman Infantry (12)
- 4 x Imperial Mounted Command
- 9 x Imperial Foot Command
- 6 x Imperial Light Jingals
- 4 x Heavy Jingals
- 1 x Beheading scene
- 1 x French Landing Party (12) Optional
- 1 x European Civilians (24) Optional
- 1 x Chinese Civilians
- 2 x Hand carts
- 1 x Veteran Taiping or Brethren Muskets\Matchlocks.
- 2 x 8lb Smoothbores
- 6 x EVA Crew
- 1 x EVA Gun
- 10 x Artillery Crew
- 2 x Howitzers
Thanks for taking a look here today! Have a wonderful day.
Eric
Sunrise on Oak Island