Hi,
The only reason this is called the Battle of the Little Big Horn is that is where the battle took place in our fictional campaign. This is not supposed to represent the real LBH.
This was the 4th battle in our Plains War campaign, with the cavalry losing the first 3 battles. This time the whirling ponies of the Indians would have to settle for a draw. The counted coup, but couldn't hold the battlefield and withdrew when massive cavalry reinforcements arrived.
Players
- Brian Connolly commanding the 7th Cavalry
- Mike Johnson commanding the 4th Cavalry
- Hal Hood commanding the Blackfeet and Hunkpapa Warriors
- Mike Bolling commanding the Oglala Warriors
- Umpire: Eric Burgess
Reinforcement Rules:
5 Companies of cavalry will start on the board.
10 Warbands of Indians will start on the board.
You will start with about 3 feet between each other on the table (roughly 2 moves with skirmish formation). So you could be on top of each other rather quickly if you so choose.
At the beginning of turn 2 a stratagem card will be put in the Cavalry’s deck. When that card is turned the other 4 companies arrive from across the river. (River will not be on the table unless the two of you want to fight near it). They will deploy on the west side of the board.
At the beginning of turn 4 a new stratagem cards will be put into the decks and when they are drawn then any units “Marching to the guns” will arrive. Of course, those units able to march to the guns will arrive behind the enemy’s forces due to the very strange campaign situation.
The Terrain
Tough one! How do you make an open plain look interesting? Well, I used all sorts of different flocking textures, along with two very small hills (beneath the little scrub patches).
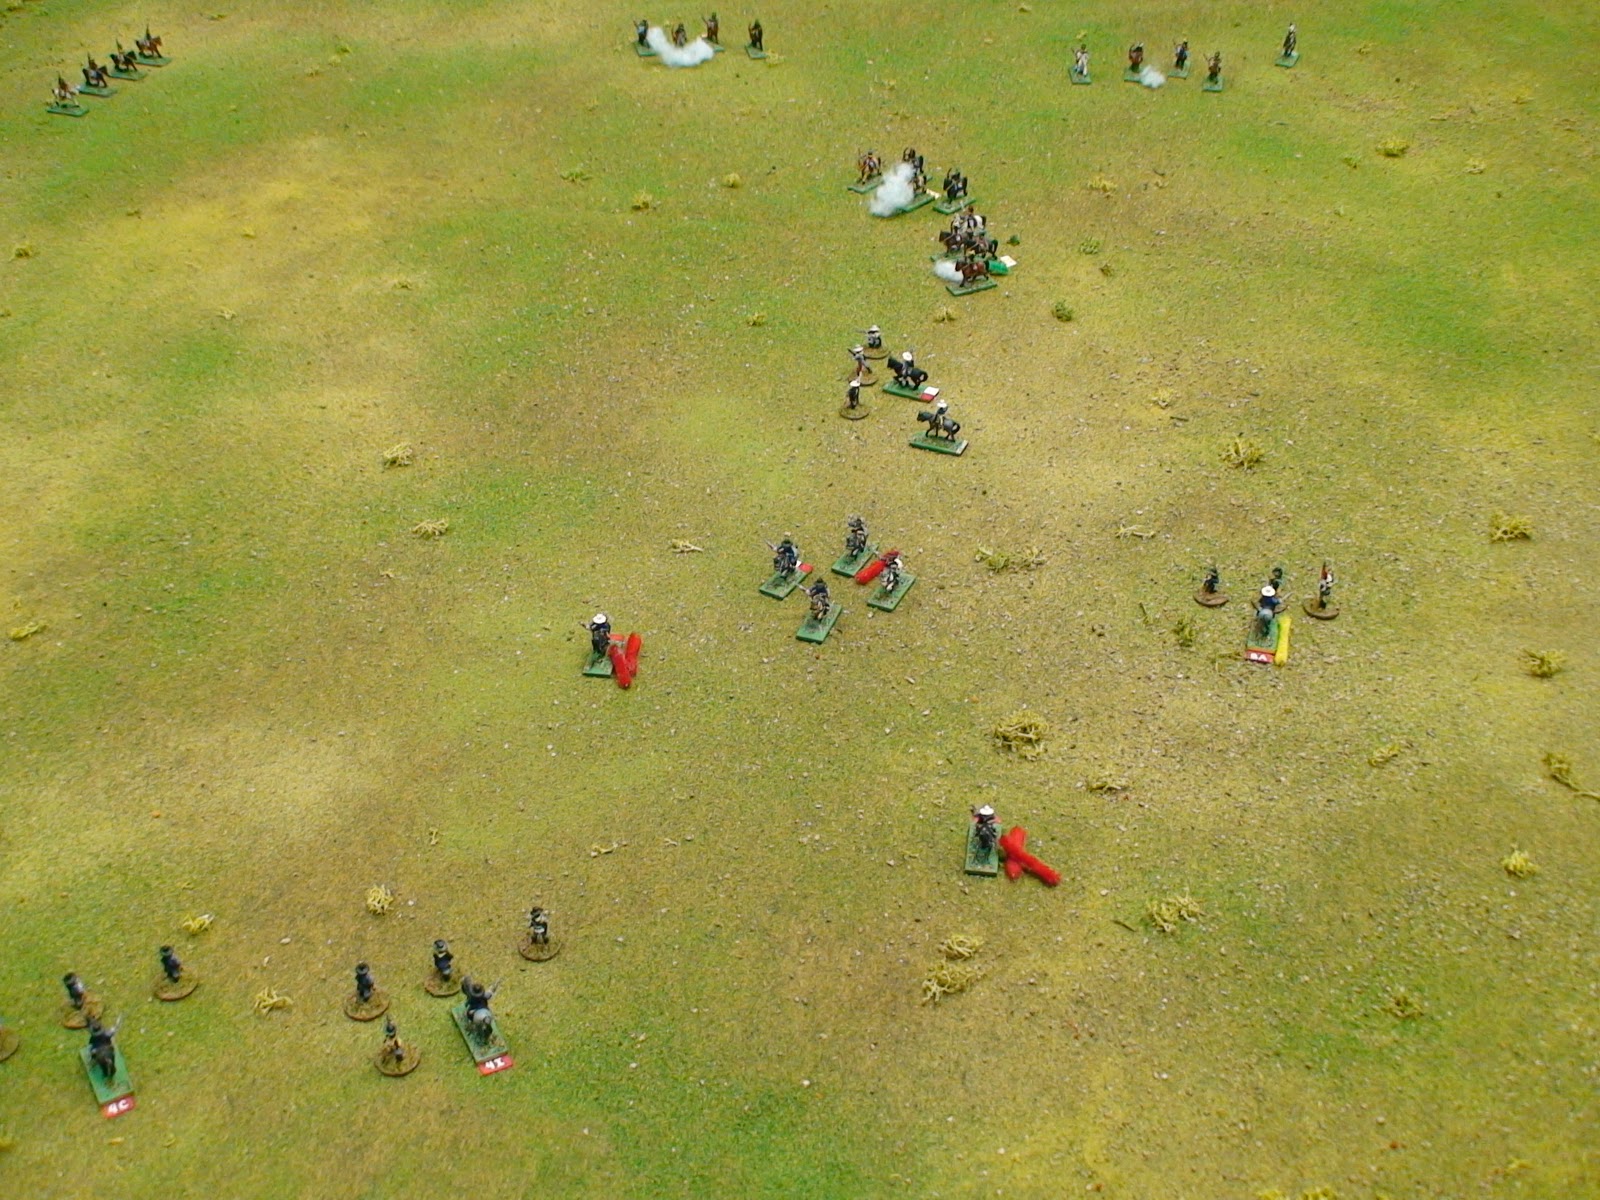
Here is the plains near the Little Big Horn river. I'm happy with the look.
The Battle
Here you can see the cavalry (dismounted) on the far right of the table prefering firepower over manuever. Remember the 7th was surrounded during the last battle and wanted to have good fields of fire. The Indian warparties are in two groups, one of Blackfeet\Hunkpapa and the other Oglala.
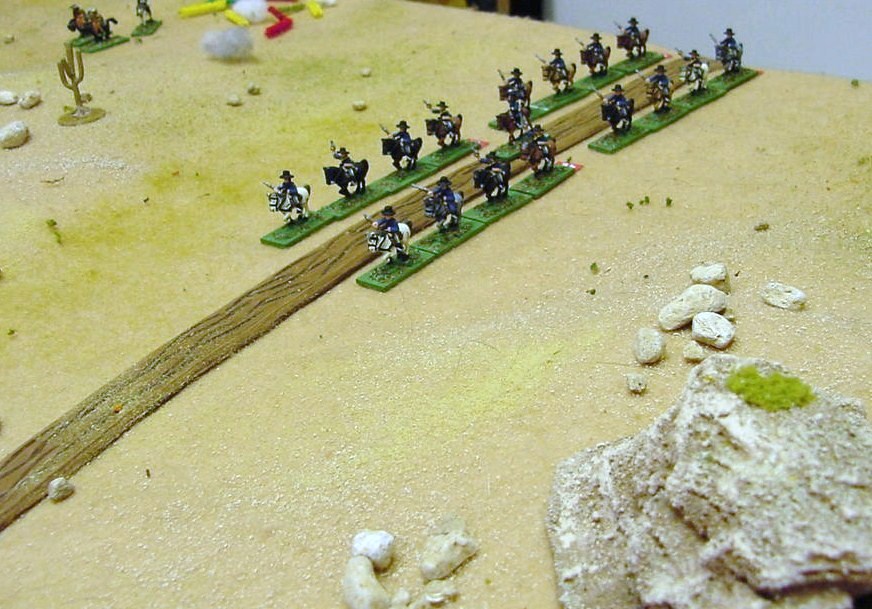
Close-up of the cavalry companies ready to shoot anything that moves.
The nice thing about the plains and the ability to manuever quickly with Indians in Piquet. Over the next few frames you will see the two Indian commands move quickly on to the cavalry's flank.
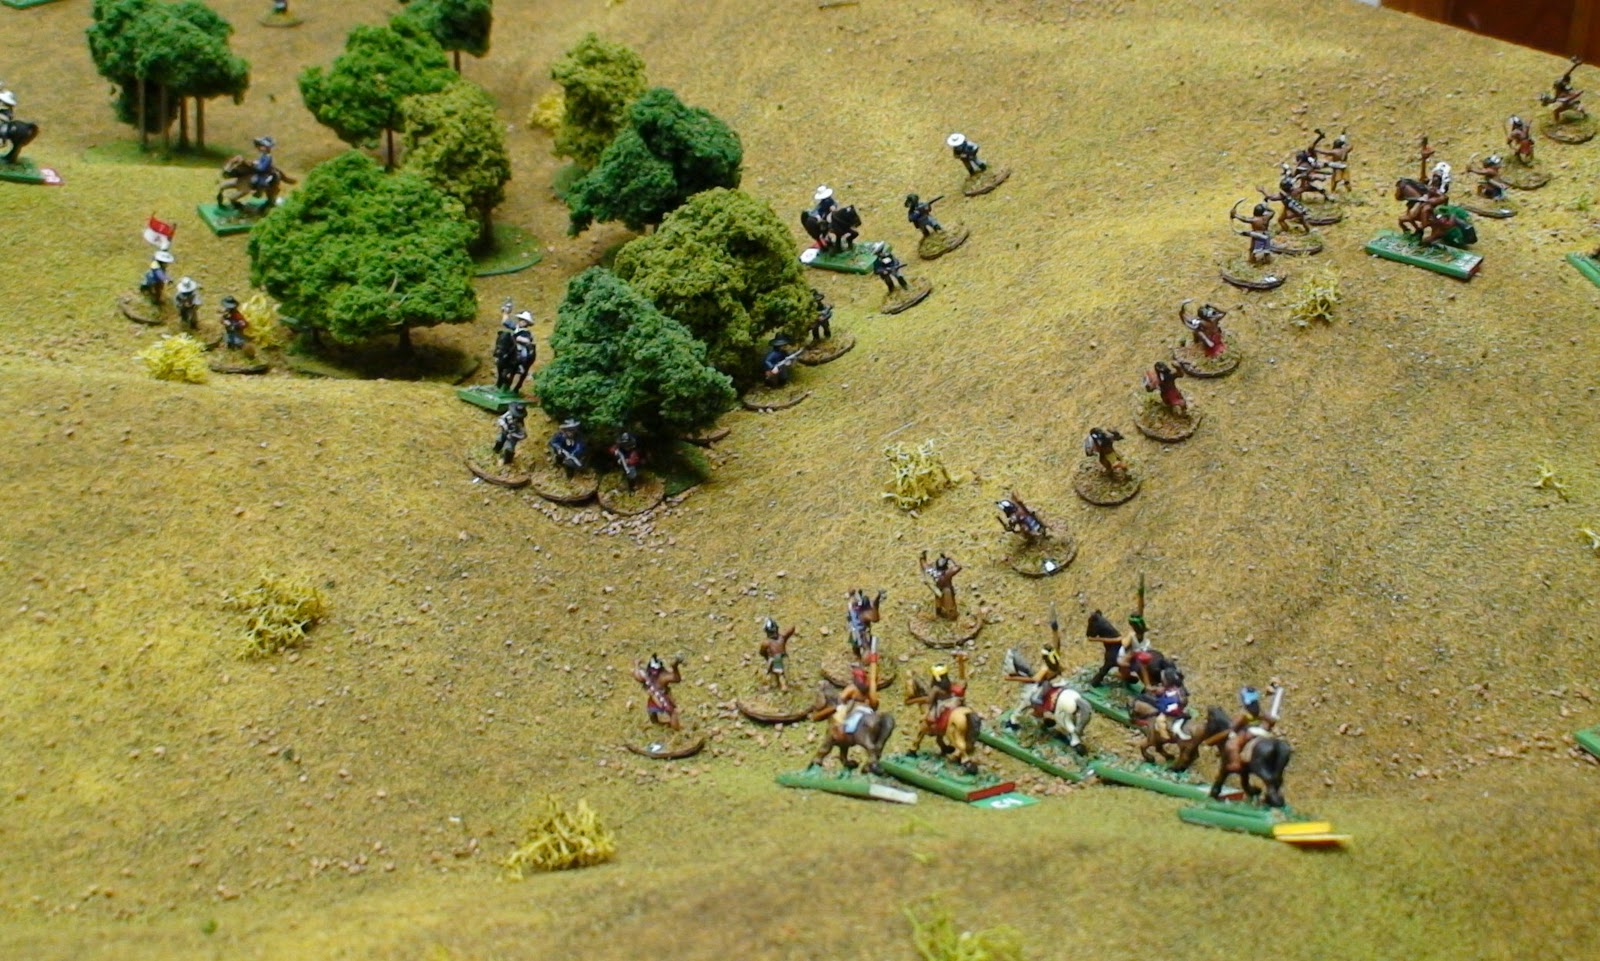
Cavalry companies starting to lose cohesion as the Oglala ride around their flanks.
One company of cavalry already running from the Indian attacks.
Cavalry is having to face all directions as the Indians continue to press their flanks. Now there are two routing cavalry companies.
The Indians charge the rear of a dismounted cavalry unit.
Now four out of five original cavalry companies are fleeing for their lives, but notice that two new cavalry companies have entered the battle. Will their firepower allow the others to flee to safety?
Suddenly 5 companies of the 4th cavalry arrive on the horizon! The Indians are forced to react to the new threat.
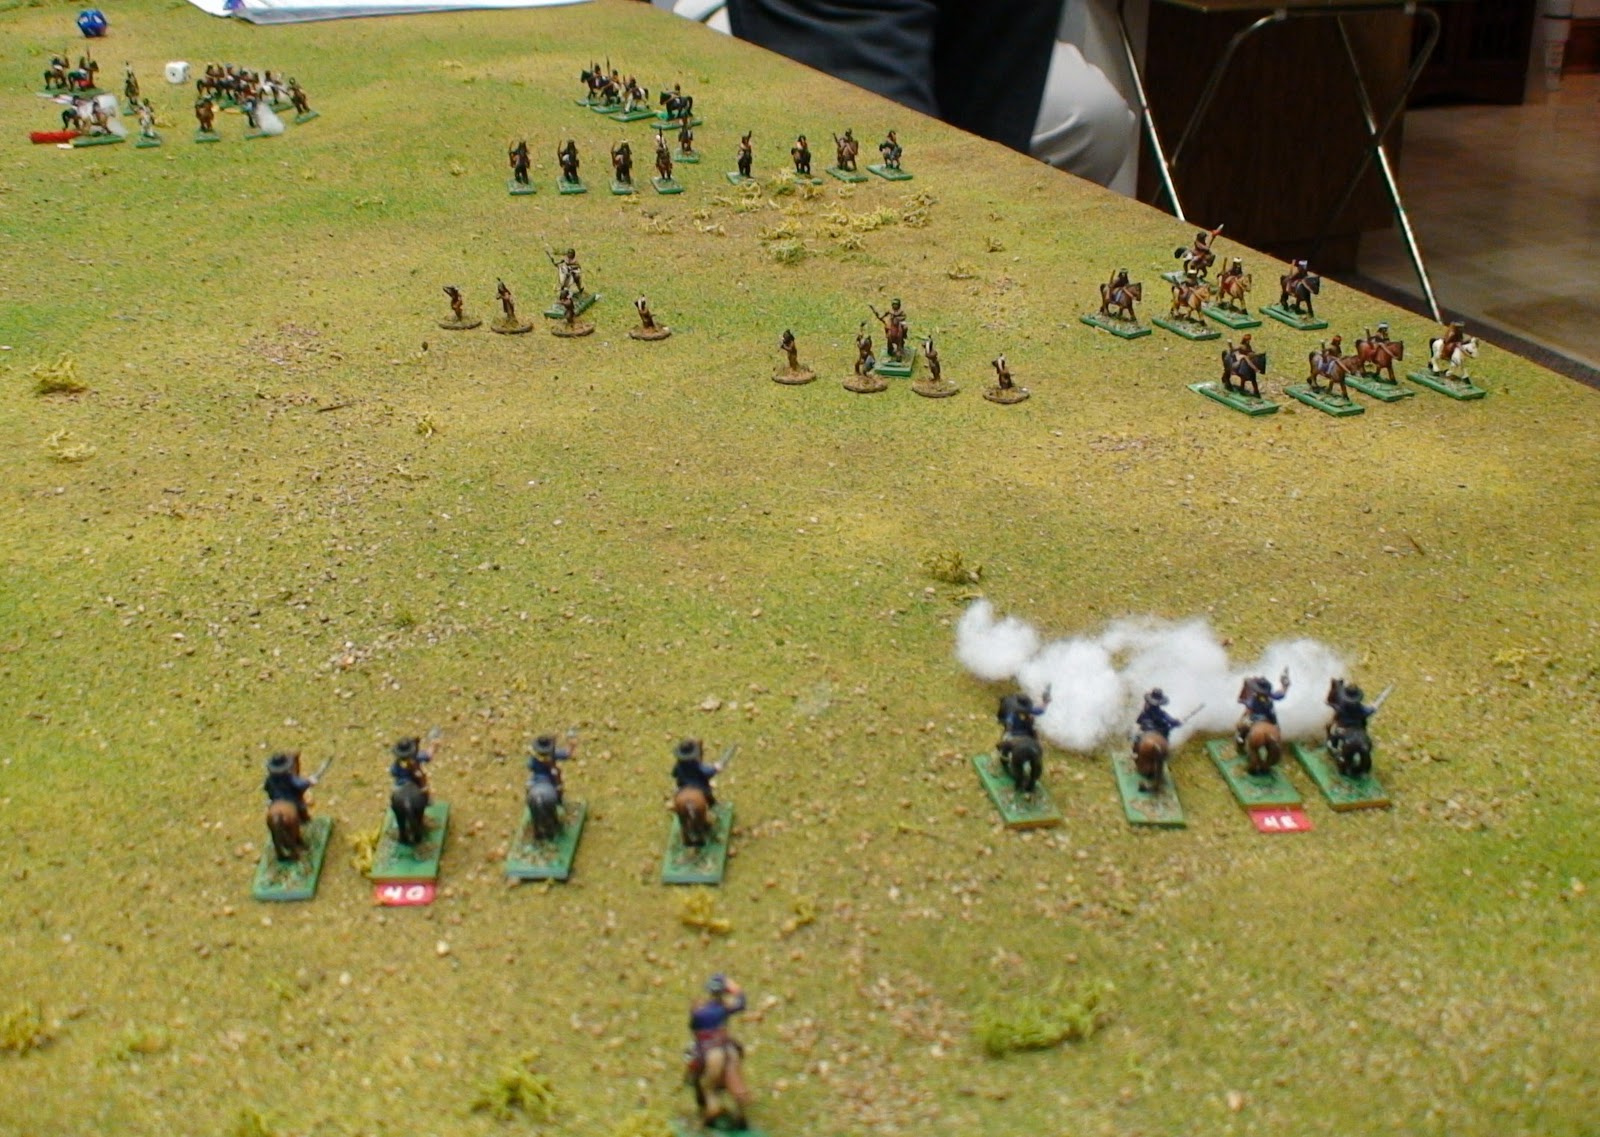
The 4th charges onto the field to draw attention away from the wrecked 7th cavalry companies.
The Indians launch two warparties into the 4th's line in an uncontrolled charge.
The two warbands are repulsed and the Indians begin to take stock of the situation. Dismount and skirmish fire or stay mobile on their horses.
CRUSHING VOLLEY! Cavalry turns a Crushing Volley card which allows the next 5 cavalry units to fire at UP1. This is a huge advantage and the cavalry dismount to get off even better shots.
The cavalry firepower drives the Indians off and they retire safely from the field with minimal damage.
Great fun!
Eric